There is nothing like riding a motorcycle and hearing the roar of its powerful engine. However, the sound of the roar may get slower if you’re not doing its routine maintenance. To maintain the motorcycle’s performance as well as the roaring sound of it, you should change its oil often.
Riders that are new to riding a bike may have no or little knowledge of when an oil change is needed and how to get the job done. However, if you are a rider, you need to learn about the motorcycle’s basics (such as oil change) for better riding experiences.
Changing the oil regularly of your bike is the best thing you can do for your bike. However, for a sports bike that uses synthetic oil, the process is a little different from the bike with regular oil usage.
Learning this skill can save hundreds of bucks a year. Also, oil changing requires only a few tools and little practice. So, you don’t have to put much effort, and your job will be done.
Contents
When to Change the Oil?
In general, every 10,000 km is a good time to start preparing for an oil change. There are many factors on which it depends, such as how you ride and how often you ride. However, the best thing to rely upon when changing the oil is the user manual of your bike.
What Type of Oil Suits Your Motorcycle?
When you start searching for oil that suits your motorcycle, you will surely find tons of options for the types and brands that offer good quality oil for your bike.
However, when looking for the best oil to maintain your motorcycle`s condition, you should see the number mentioned on the bottle as the number on the left side shows the thickness of the oil when it’s cold, and the right one shows the thickness when the temperature being risen.
Depending upon the thickness with respect to the temperature of the oil, you should consider what’s best according to the area you’re living in. So, be sure to check the specifications of your motorcycle and area before buying a can of motorcycle oil.
Step 1: Let Your Bike Run for a While
First, you should run your bike for a while before starting the process. Then, let your motorcycle’s engine get warm a little because changing the oil of a cold engine is much more difficult, plus it’s less effective. After warming up your motorcycle’s engine, you are all set to start.
Warning: Even if you do change the oil of a motorcycle with a cold engine, let it rest for up to 30 minutes. If not done properly, there’s a high risk of damaging the bike.
Step 2: Clean up
The engine of the bike must be cleaned up before the process. For this purpose, set your bike up for a while and then clean up the area around the drain plug and the filter with a rug.
Step 3: Drain the Old Oil

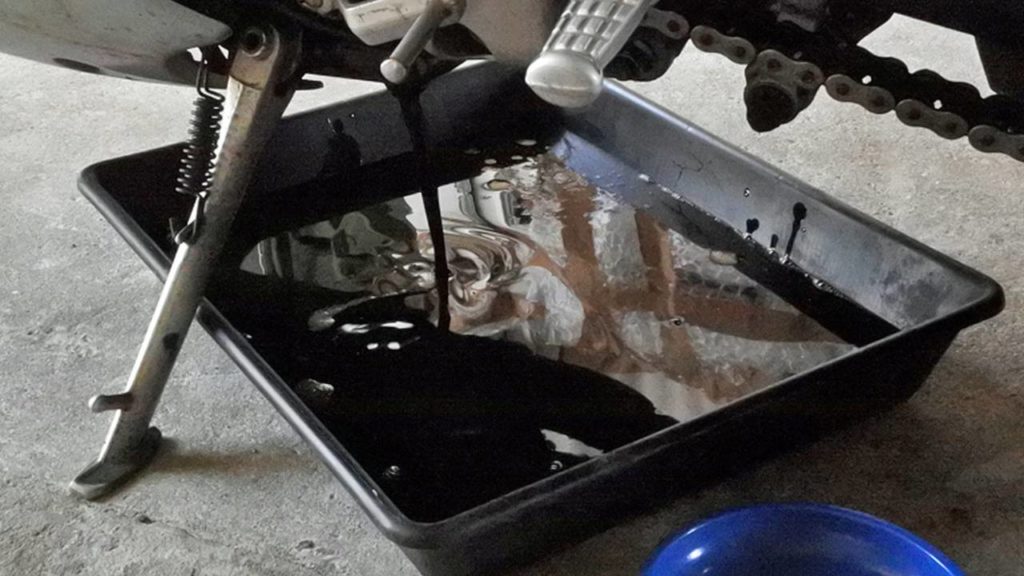
Place a pan under the drain plug to drain the whole oil used before and then crack open the plug. Steady your arm, so no oil be spilled on your clothes. Now, unscrew the plug with your hand and wait until the last drop of old oil is drained over the drain pan.
Step 4: Change the Filter

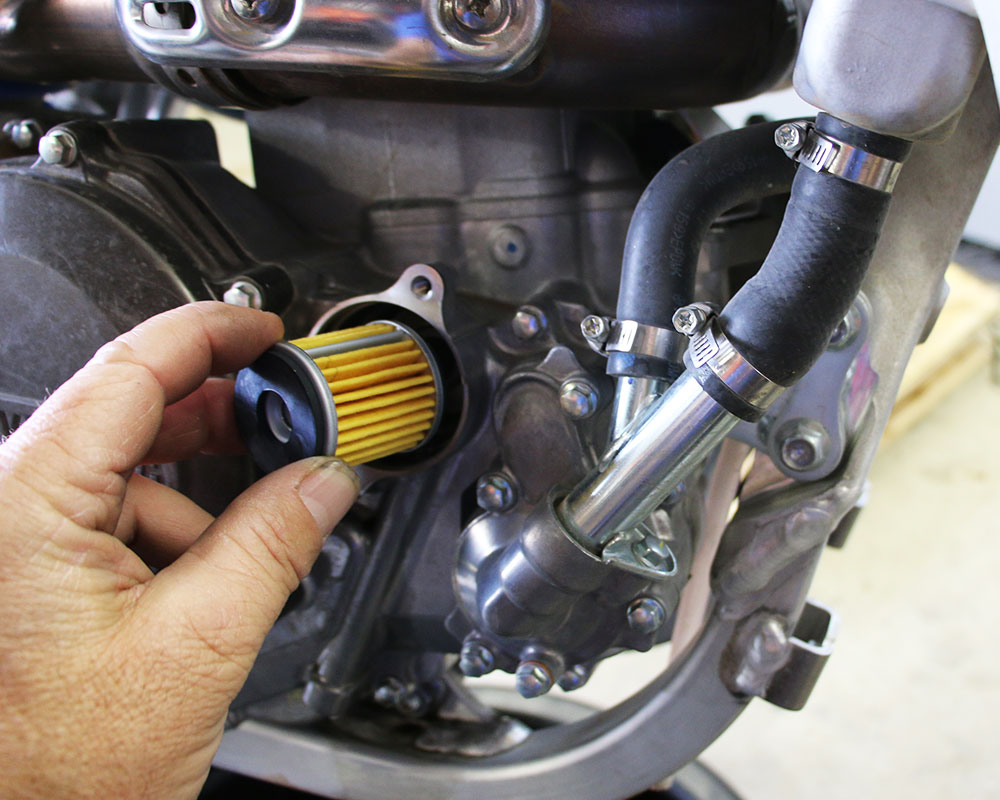
Once the old oil is drained, you can change the filter. First, use an oil filter wrench to loosen the filter and unscrew it. Next, pour some oil in the filter into the pan.
Apply a little oil to help the filter let slip smoothly into its place. Also, wet the filter with a little oil, so your engine doesn’t dry run. Be careful while installing the filter and Install it with your hands. Turn it until you feel it tight, but not over tight, as it may damage the seal.
Step 6: Change Sealing Washer
It is not always necessary to change the sealing water as recommended by most owners’ manuals. Check for the washer it is damaged, change it. Otherwise, there’s no need for it to be changed.
Step 7: Install Drain Plug
Put back the drain plug and tighten it first by hand and then a wrench to avoid cross-trending.
Step 8: Add Oil

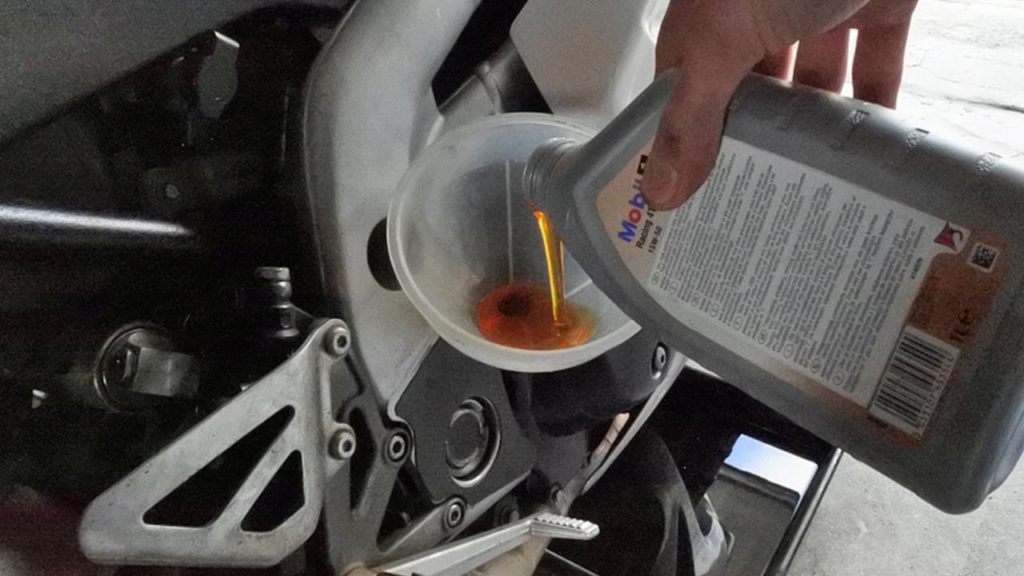
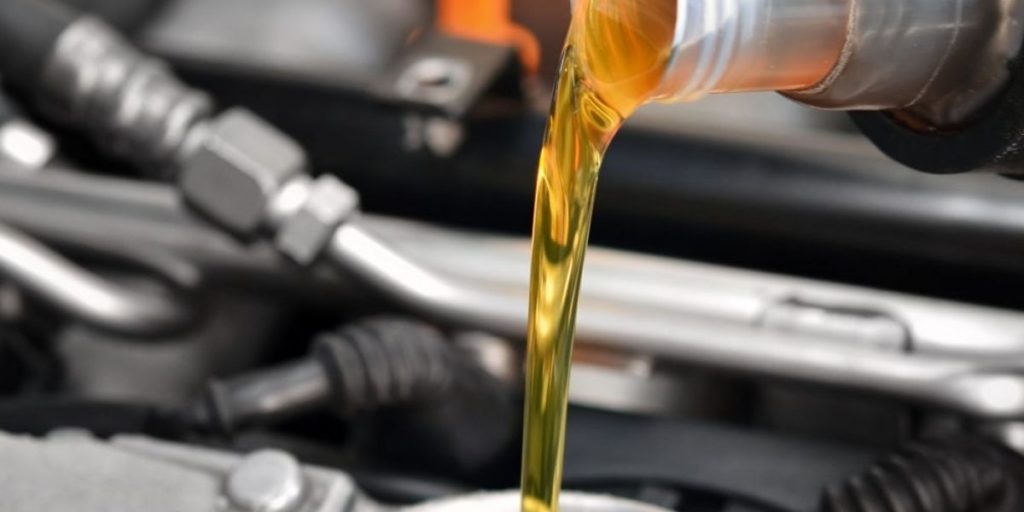
Now, pour in the oil. For the correct amount and kind, see the manual.
Step 9: Check the Engine
At the very least, start the engine to test it. See the oil level, inspect the oil filter, and drain plug if there’s any leakage.
That’s it! You’re all done.


