Motorcycle helmets qualify as great safety gears while riding. If you wish to extend their lifespan, you need some great motorcycle helmet cleaning tips.
The role a helmet plays in a rider’s life is truly praiseworthy. It is a loyal companion that literally stays with you when you are in danger. It doesn’t shy away from sacrificing itself to keep you safe.
As the main purpose of a helmet is to protect the delicate parts of your head, the outer body absorbs the energy generated in an impact. When your head hits the road in an accident, the shell of a helmet crushes to distribute and reduce the force produced in a collision. According to a report, the riders who don’t wear a helmet have 40 percent chances of dying from a brain injury.
There is a plush EPS liner that acts as a barrier between your head and the gravitational forces. Hence, these forces do not reach your brain. Not only that, to keep your face from injuries, they save the riders from abrasion in a slide. From big impacts to small nuisances like stinging bugs and stones, they don’t let anything come in the way of a pleasant ride.
The interior of the helmet has padding for comfort. It wicks away the moisture and sweat while insulating the noise to protect your hearing. In short, every part of a helmet provides care for the rider. That’s why you must pay attention to the maintenance and cleaning of your motorcycle helmet.
In this article, we will provide you with the knowledge you need to keep the accessories of a helmet in good condition. With our motorcycle helmet cleaning tips, you can keep it odor-free and polished for years.
Keep The Exterior Shiny
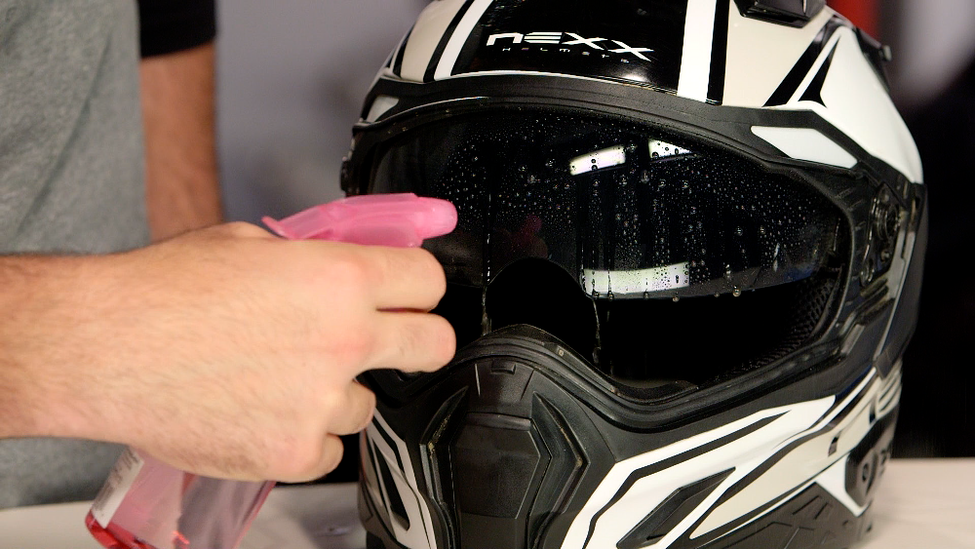
To clean the exterior, you need to break the process into two parts. In the first level, you can start with a habit of wiping the helmet with wax and a microfiber cloth every time you come home after a ride. Sometimes, the dead insects get stuck to your helmet, and scratching them can ruin the finish of your helmet. To eliminate this kind of issue, post-ride cleaning is crucial.
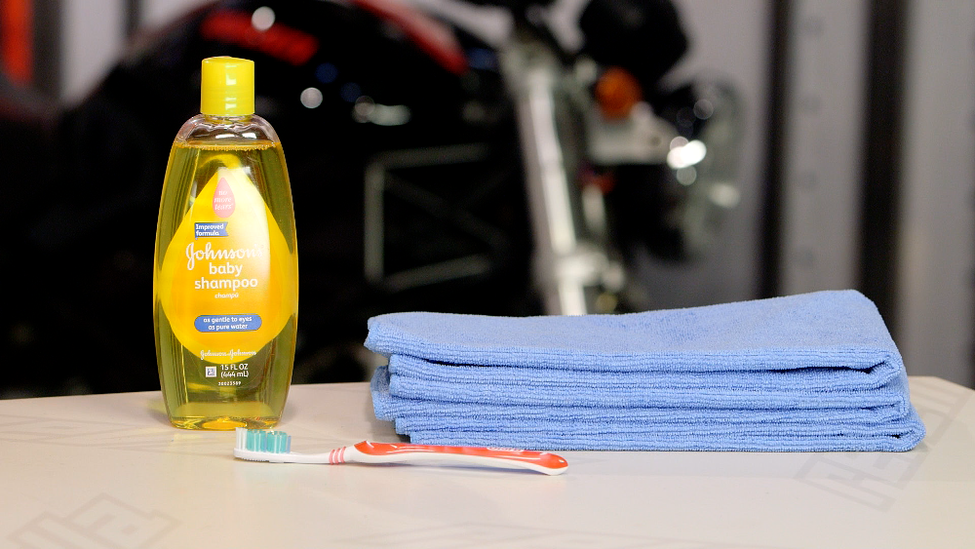
A wet microfiber cloth removes the dust and makes the debris soft. Due to that, when you scrub the helmet with a gentle hand, everything comes off, restoring the shine of your helmet. Moreover, never utilize harsh chemicals. Even though in advertisements, some cleaners claim to clean everything in seconds, they can be too strong for your helmet.
Many people make a mistake in cleaning their helmets with window cleaners or dish washes. In the long term, it damages the surface of your helmet. So, you must use the cleaning products that are dedicated to helmet cleaning only.
The second level involves a deep cleaning after using it for a few weeks. In this type of cleaning, we advise you to remove and wash your visor first. Be careful with the electronics of your helmet, and they must never come in contact with water. Note that wiping pf the stubborn dirt off your helmet ruins the finish completely.
Those spots that are tough to reach can be cleaned with a toothbrush with soft bristles. If you are afraid that a wet cloth may soak the interior, use a fan or a hairdryer on the outer shell. Because if you apply air with pressure on the interior, you may affect the glue that adheres to the padding. After you are done with cleaning, use wax to polish the surface.
Clean the Delicate Parts Attentively
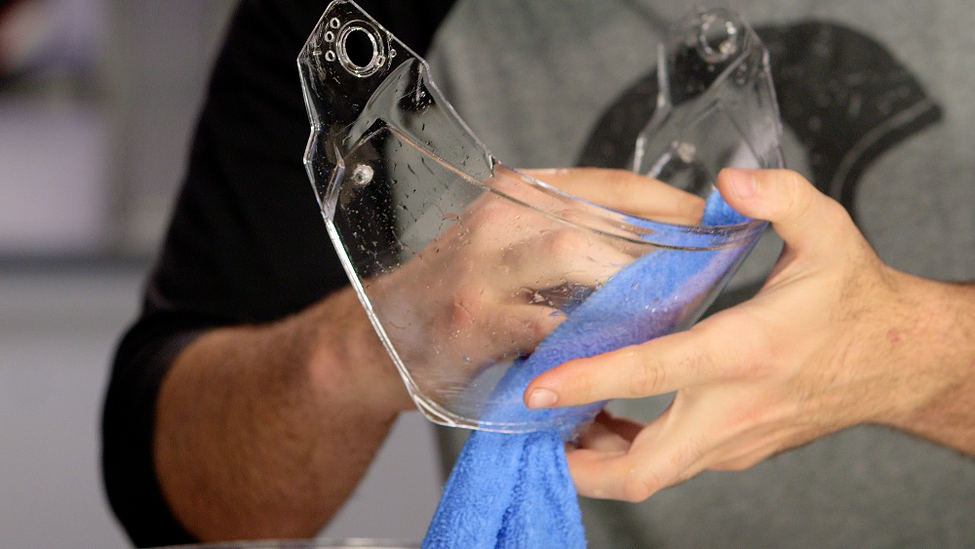
Most of the good brands cover the visors with a specific type of coating to grant them the ability to prevent fogging. Using inappropriate cleaning methods can remove this coating, killing the purpose of the visor. The best way to clean the visor is to use a mild soap with your fingers on a wet visor. Afterward, rinse the soap with lukewarm water and use a microfiber cloth to dry it.
The same method is effective for a face shield with a Pinlock mechanism. As the pin-lock visor is more likely to scratch, don’t be too hard on it. To get rid of the excess water, dry it with a hairdryer with cool air before installing it back on your face shield.
Wash The Lining
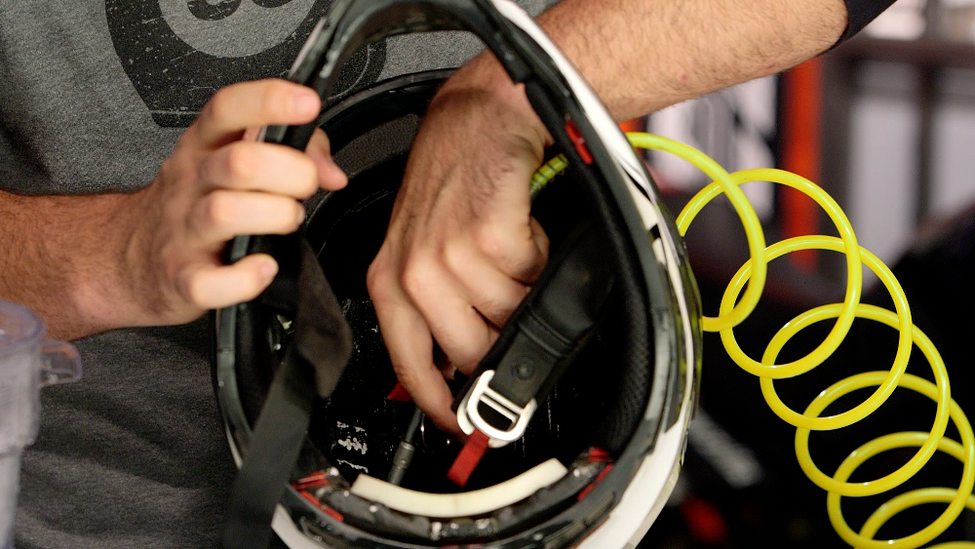
For us, cleaning the helmet is the simplest step. All you have to do is to remove the liner and padding and throw it in a washing machine. Wait, don’t forget to put it in a mesh garment bag and change the setting of the washing machine to the most gentle one. After it is washed, let the air dry the liner. If you are in a rush, you can use a fan as well. Make sure you don’t use heat in the whole process of cleaning.
When you place the padding and the liner in a mesh garment bag, it keeps it safer. In some helmets, you don’t have the option to remove the liner. In such cases, use a cloth and a bowl of warm soapy water to clean the liner.
Furthermore, take out the communication system before you start rubbing it with a wet cloth. Moreover, it is easier to clean it in sections. Plus, here, you don’t have to worry about rough scrubbing. Lastly, make sure all the soap makes its way out of the liner by squeezing it. And, leave it to dry.
Conclusion
We hope that we were able to deliver the motorcycle helmet cleaning tips in understandable language. By following our tips, the interior and exterior of your helmet will remain new for a long period. Also, you will not feel the need to changing your helmet often. And, of course, you won’t have to tolerate a fetid helmet during a beautiful ride. So, what are you waiting for? Go ahead and try our helmet cleaning tips today.

